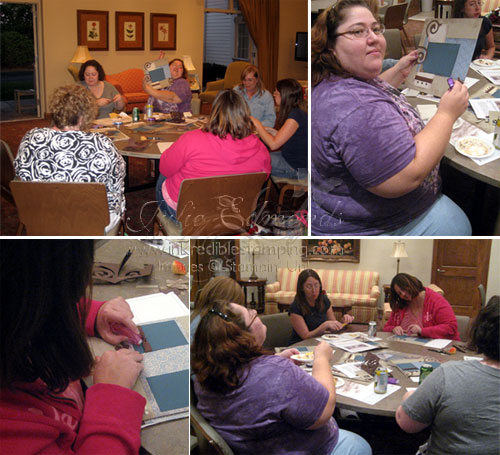
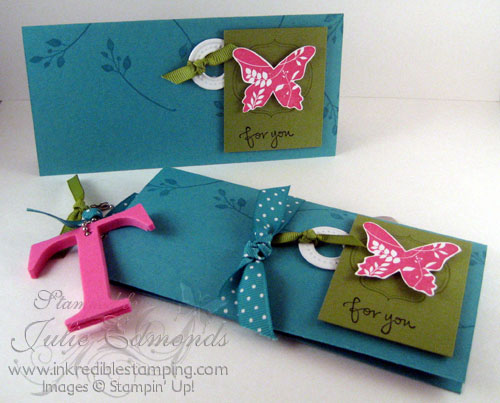
Wow I've been busy!! Lots going on right now. At the beginning of this month I traveled to Cincinnati, OH for a SU regional training… And of course any Stampin' Up! event means Swaps. I created two different swaps for this event and I'm sharing the first one with you guys today.
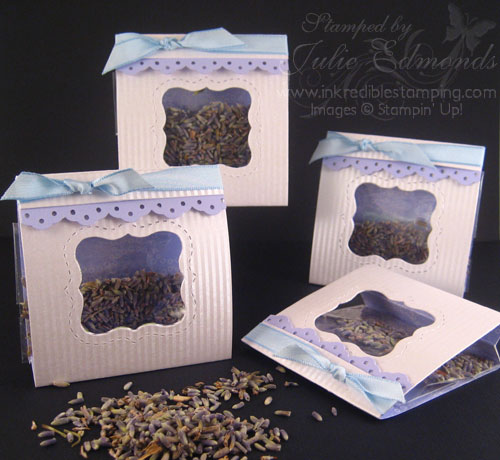
I don't remember where I first saw it but some genius figured out if you cut the bottom off of the Ornament Punch in the Mini Catalog you get a fabulous vase! Tie in the matching Stamp set and you've got Polka Dot Vase Cuteness. I had to create a vase card and since it's me it had to be purple…
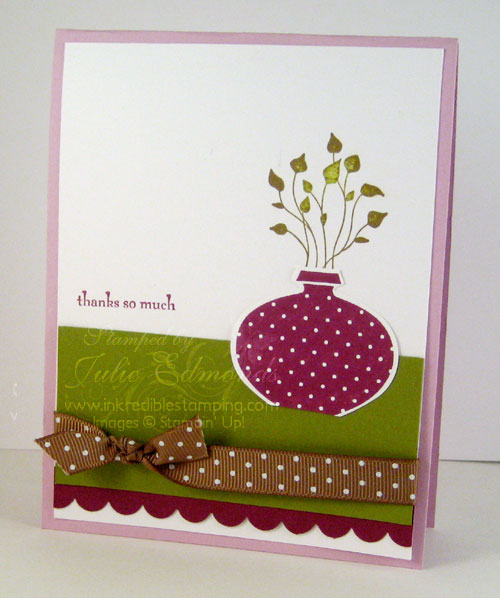
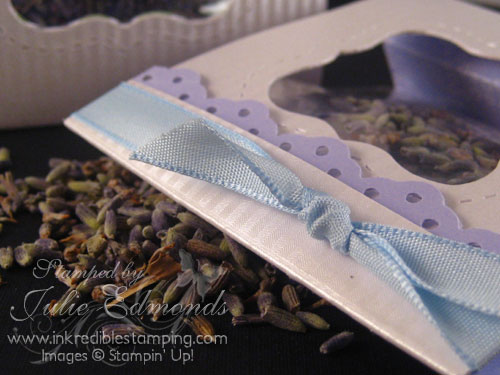
Don't you just LOVE IT! here's a closer look at the vase and as you can see – no I didn't cut a straight line but that's the beauty of this – it still looks great!

Stamp Sets:
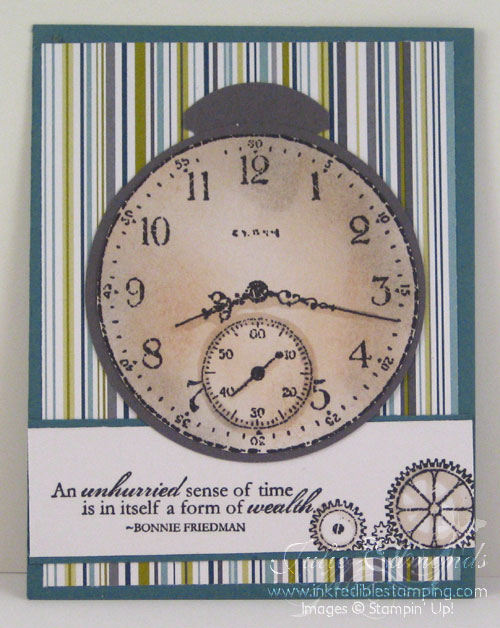
- Pocket Silhouettes
-
Delightful Decorations
Colors:
-
Rich Razzleberry
- Pale Plum
- Old Olive
- Soft Suede
Accessories:
- Ornament Punch
- Soft Suede Polka Dot Ribbon
I used the Rock and Roll technique to ink up the leaves for the flower pot. I inked up first with Old Olive and then rolled the edges in Soft Suede to create some variation in the color.
If you would like to purchase the Ornament Punch or any of the Great products from the Holiday Mini visit my SU Website and click on Shop Now.


