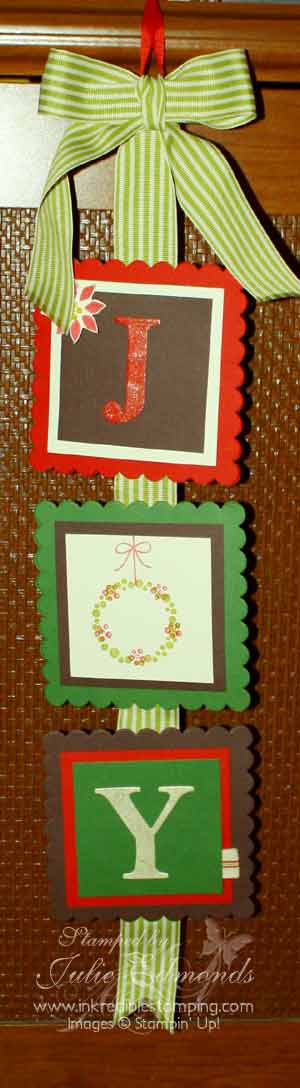
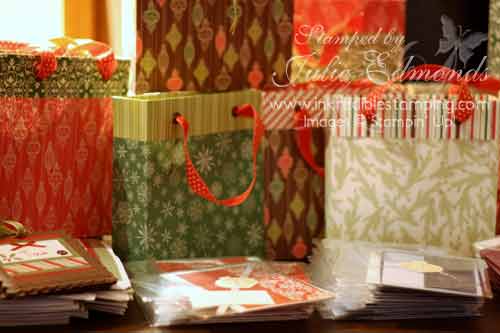
• Over the past couple of months we've been stamping Christmas Projects at our Team Meetings. I've been saving them up to share with you all. Now that the holidays are getting close I can start sharing…

    First up is this TOO CUTE Santa Box that Debbie shared with us at the meeting

    IMG_0510 

    This box was created with 5 square chipboard coasters. We covered four of them with Real Red card stock. The front of the box was covered with Blush Blossom card stock. Then we punched and cut to create the face for Santa.

    Debbie found the template to create the Santa Box along with lots of other fun boxes on SplitcoastStampers – Click Here for the template.

    Some of my favorite Stampin' Up! Punches are on sale this week – Don't forget to Visit my Stampin' Up! Store to check out the discounts.

    Happy Stampin'
    Edmondssiggy

  • It’s beginning to look a lot like the Holidays. Let’s face
    it, the holidays seem to appear earlier every year. They also have the uncanny
    knack of showing up when we are at our busiest. We have holiday gatherings and
    parties. We have places to go with the kids. Presents that need to be bought. So
    many things that just have to be done.


    Wouldn’t it be nice to have
    creative ideas delivered to your inbox? 12 days full of great holiday help.
    These ideas will cover gift giving, decorating and card making. They will be
    packed full of inspiring ideas. Just when you need the inspiration and the ease
    of great projects I'm available to you, ready to help you though the busiest
    time of the year.

    The holidays are a time of sparkle and wonder.
    Handmade gifts and decorating add to that in a way that is uniquely your own.
    Having inspiration for great projects, that are simple and easy to do, can be a
    jumping off point that will spark your creativity. Adding that little bit of
    your own personal touches to decoration, cards and gifts really does show that
    you care enough to go that extra step.

    Sign up for the 12-day Holiday
    Helper. Set to be delivered to your inbox every morning starting soon Just add your name and your primary email address and click submit. 
    I'm here to help you add that sparkle and glitter to your Holidays!

    If you're already on my mailing list you'll still want to sign up to receive the Holiday helper, just enter your e-mail address into the box. You'll receive an e-mail with a link to update your preferences. Then you can simply check the 2009 Holiday Helper box and submit the changes.

    For Email Marketing you can trust

  • A couple of months ago at our Team Meeting we swapped 3-d Gift type items for Christmas at our meeting. I created this Joy Door Hanger and I've been meaning to get a photo of it so I could put it up to share with all of you. I finally did…

    IMG_0473

    I cut card stock covered Chipboard using the Scallop Square Die for the base of each letter. The J and Y were die cut from card stock and then brushed with the Champagne Mist Shimmer Paint to give them some sparkle. The O was created using the wreath from Berry Christmas.

    It's a very quick and simple Wow Gift. You can find all the supplies used on this project in my Stampin' Up! Store Online – Shop Now.

    Happy Stampin'
    Edmondssiggy

  • My annual Christmas Card Workshop was held this past weekend! It's my favorite event every year. I have so much fun working with my other team members to make the Christmas Event special each year.

    My house always looks so festive when I'm getting ready for the classes – putting the kits and bags together. I though you might like a to take a look inside the mess!! 🙂

    IMG_0239

    I took over my brother's computer table – just one of many surfaces I took over while getting ready for the class! All the Bags are lined up waiting to be filled.

    IMG_0241

    Stacks of card kits piled along the table in front of the bags,

    IMG_0245

    and Christmas Tree Tags waiting to be attached to the bags.

    IMG_0238

    and on the very corner of the table (look at the bottom left) are the Name Tags on top of the Instruction Books, which are waiting to be bound together.

    Hope everyone had as much fun this year at the class as I did! If you're not signed up for my newsletter be sure to subscribe (there's a box at the top left of this page) so you'll know about all my upcoming classes and events!

    Happy Stampin'
    EdmondsSiggy1

  • It's that time of year again. The time of year when I start booking my locations and filling my calendar with next year's Monthly Stamp Camps and Crops! 🙂 As most of you know I like to hand out postcards with the dates on them. This year I was SO excited to have Stampin' Up!'s new My Digital Studio to play with. Instead of using a simple generic design I was able to create postcards that scream Stampin' Up! 🙂 LOVE IT!!

    StampCamp2009JulieEdmonds

    For the Stamp Camp dates card I took my inspiration from the Sunny Day Designer Kit in the program.

    StampCrop2009JulieEdmonds

    For the Crop card I used paper and elements from the Summer Home Designer Kit.

    Both of those kits along with SO MUCH MORE are included with the software, which you can purchase by contacting me or shopping at my Stampin' Up! Online Store.

    I'll be handing the cards out at next month's events!

    Happy Stampin'
    EdmondsSiggy1

  • Stampin' Up! Just released some New Digital Downloads to add to your My Digital Studio or for use in another design software. This release of new Digital elements come just in time for your Halloween Crafting Projects! If you're a Digital Scrapbooker or Crafter you're sure to want to purchase all of them!

    The New Downloads Include:

    Item # Product Name Price
    118114    Cast A Spell Designer Series paper – digital download  $4.95
    118115    Night & Day Designer Series paper – digital download  $4.95
    118124    Medallion stamp brush set – digital download   $1.95
    118126    Circle Circus stamp brush set – digital download   $5.95
    118116    School Days II stamp brush set – digital download  $9.95
    118121    Great Moments II stamp brush set – digital download  $9.95
    118122    Pumpkin Patch stamp brush set – digital download  $5.95

    To Place your order simply visit my Stampin' Up! Website by Clicking Here. Then Click Shop Now and follow these steps:

    • Enter the Codes of the items you want to order (You can add other non-digital items to your order if you want also)
    • When you are finished shopping, Check Out like you normally do
    • On your order confirmation page click on Download Now.
    • Choose Mac or Windows
    • Choose to download the file for import directly into My Digital Studio or for download to use with other applications
    • When prompted choose Run
    • When you've downloaded everything you purchased open My Digital Studio and you'll find your new items ready for use!

    If you have not purchased My Digital Studio yet be sure to take a look at the software while you're shopping. It's one of the easiest Digital Crafting or Scrapbooking programs I've ever used! You're going to LOVE it!!

    Happy Stampin'
    Edmondssiggy

  • My cousin's Wedding Reception was last night. It was Tons of fun and the Room looked GREAT! We created matchbox wedding favors to coordinate with her Wedding Announcement.

    IMG_0339 

    The boxes and Vanilla tags on top all came from Stampin' Up!'s Matchbox Die. We embossed the "B" in Gold. They went together very quickly and easily!

    IMG_0341 

    I love how the embossed Gold letter really pops against the Black and Red! The matchbox die is one of my favorite boxes. You can create cute favors and gifts for just about any occasion. Holidays, Showers, and More.

    Visit my online store to purchase the Matchbox die or any of the other GREAT Sizzix Dies available from Stampin' Up!

    Happy Stampin'
    Edmondssiggy

  • The 2009 Christmas Card Class is coming up in November. If you have never experienced this FUN event check out one of the posts about last year's class, click here.

    Registration is Due October 24th.

    Rich Text Area.

    At this year’s class you’ll create 6 fun Christmas Card Samples. Come join us
    for an evening full of prizes, inspiration, and more!

    – Create 6 Holiday Cards with Envelopes.
    – Check out idea boards full of
    inspiration.
    – Get a One on One Design Studio Consultation &  take home a
    sketch of your perfect Holiday Card.
    – Enjoy Time with friends & Have fun
    Stamping.
    – Take home an instruction book with pictures.

    Date & Time: Friday, November 6, 2009 – 6:00 pm – 10:30pm

    Location: Saint Gerard Majella Parish Church
     
    Cost:     $25.00 

    Click Here for More Information and to Open the Registration Form

    Happy Stampin'
    EdmondsSiggy1

  • DigitalScrapbooking!

    Stampin' Up!'s Digital Paper crafting Solution is here and Super Easy to use!

    Contact Me for More Information.

    EdmondsSiggy1

  • October's almost here – One of my favorite months of the year. There is an unending supply of fun and fabulous ways to "spooky up" little candy! We've been sharing a few ideas at our team meetings…

    A couple of meetings ago Crista shared this Pumpkin Box…

    IMG_0245

    Crista had a template printed out for each of us to crate the box. We sponged a little to create some dimension on the pumpkin face and then Stamped the face and leaves using the Autumn Harvest Stamp Set. The tag came from a retired set.

    This month at our team meeting Barb and I each had a Halloween project to share. Barb made a cute pop-up surprise candy bar wrapper…

    IMG_0252

    You simply punch a hole through both layers of card stock at the top of your candy bar wrapper, feed the ribbon through both holes, and then slide your candy bar into the wrapper pushing the ribbon down. Tie a bow to finish it off and then you can pull the bow up to make the candy bar appear. The kiddos LOVE this one!

    and I shared a project featuring the new Sweet Treat Cups in the Holiday Mini…

    IMG_0259

    I used the Sweet Centers Stamp Set, punched a hole for the treat cup and then filled it with spooky green M&Ms. At the meeting we used Candy Corn. You can fill them cups with SO many things!

    If you want more fun Halloween Candy ideas don't miss the Stamp Camp this Saturday - e-mail me for more details or to RSVP.