The flowers I'm sharing today were my swap for the meeting. We usually swap cards or small candy ideas but I though it would be fun to swap something that went along with my Fabric Crafting presentation I made at the meeting.
I made two different flowers and let everyone choose which flower was more their style
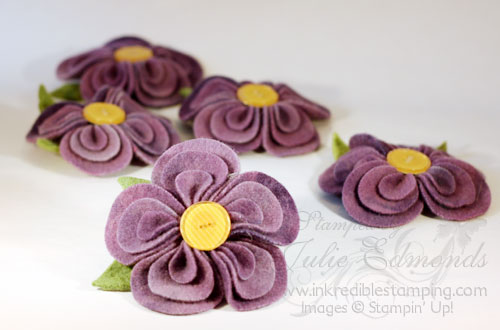
The first flower is another wool flower – this time I used hand dyed wool which gave the flower a multi-tone look.
and a closer look at one of the flowers…
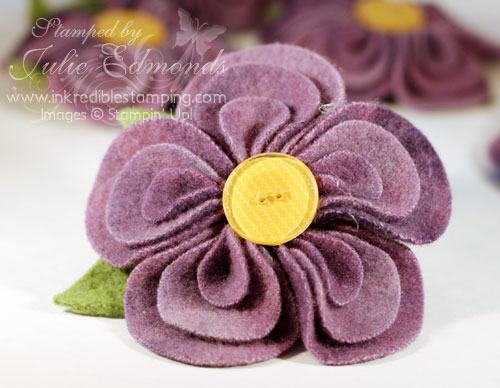
These flowers use the same Circle #2 die I used on the Lollipop Flowers. Each petal is a layer of the three smaller circl sizes folded up, tacked together with a needle and thread. Then each petal was hot glued onto a circle. I added a Clear Button decorated with Designer Series Paper into the center, leaves for the back, and finished it off with a pin. Just like I did in the Lollipop Flower pins.
For Directions on creating the Button I used in the center of the flower view this post.
Also Check out the Tutorial I created that includes this flower and many others Click Here.
The other flower option also used the circles but it's a VERY different look
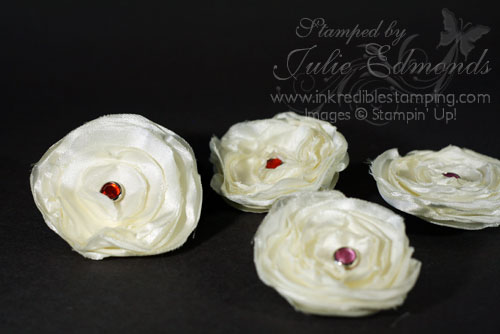
Don't you think these would look GREAT clipped onto a Bridal Shower or Wedding favor? Or maybe hair clip party favors at a Little Princess Birthday.
To create these flowers you want to use a synthetic fabric (something that will melt – I know you're all cringing but stay with me here)
- Die cut 4-8 of each size circle from the Circle #2 die. You can cut up to 8 layers at once with the Big Shot so this goes really fast.
- Choose a Rhinestone brad and push it through the center of each circle one layer at a time. Start with your smallest circles and work out to the biggest.
- When all the circles are on the brad spread the legs of the brad open in the back to hold everything in place.
- Now take your Heat Tool (The Embossing Gun you use with your embossing powders) and start heating the fabric working from the center out around the whole cirlce. The fabric will start curling and melting. You can melt a little or a lot. It takes a little practice to get things just the way you like but every flower is different and unique.
- Finish off the flower by sewing or gluing a pin or clip onto the back of the flower.
I know you would all LOVE to be a part of my fabulous Create, Ink! Stampin' Up! team and get fun swaps like this and I would LOVE to have you be a part of my stamping family. There is a great promotion on the Starter kit running during Sale-a-bration which is ending on March 31st if you would like more info click here or e-mail me.
Happy Stampin'

Leave a comment